Dev Life
How to send emails in JavaScript: Frontend and backend
There are two ways to integrate email into your app: a frontend-only approach or a backend-powered method. The frontend approach uses the mailto protocol and vanilla JavaScript, but it’s limited and exposes sensitive information. The backend method, using Node.js and the Mailgun API, gives you better control, security, and flexibility.
This guide walks you through both options, so you can decide what works best for your setup.
Sending emails from the frontend
The Simple Mail Transfer Protocol (SMTP) is the standard protocol for sending emails on the internet. To send an email from the frontend, you need a connection to an SMTP server, which requires a username, password, or API key provided by an SMTP host like Mailgun for authentication. However, that connection will also expose the SMTP host’s credentials, leaving them vulnerable to theft.
As a more secure alternative, you can set up a dedicated serverless function or a simple backend that uses the Mailgun API to send emails and connects securely with your frontend. However, this approach is not “frontend-only,” as it involves servers and can be challenging to set up without a traditional backend.
The most feasible and secure “frontend-only” method for sending emails involves using a hyperlink to trigger the user’s default mail app with a prefilled template for them to send. This approach doesn’t need an SMTP server or credentials because the email is sent through the user’s email client instead of your application. You can set this up using the mailto protocol.
Client-side JavaScript cannot send emails directly via SMTP because browsers do not support direct server socket connections due to security restrictions. The most feasible and secure frontend-only method involves using a mailto hyperlink to open the user’s default email client with a prefilled template, avoiding the need for SMTP servers or exposing credentials.
Sending emails from the frontend using the mailto protocol
The mailto protocol is a URL scheme that lets users send emails by clicking a link. When a user clicks a mailto link, it opens their default mailbox with the recipient of the email prefilled. In addition to the recipient of the email being prefilled, you can also customize your mailto link to include a subject, a body, and carbon copy (cc) and blind carbon copy (bcc).
When a user clicks a mailto: link, their browser opens the default email client (such as Outlook or Gmail) in a new window or tab with the recipient’s address pre-filled. These links can also include parameters to prefill the subject, body, cc, and bcc fields, enabling a customizable email template triggered from the frontend without sending an email directly from JavaScript.
mailto links use the following syntax:
mailto:sAddress[sHeaders]
A mailto: URL opens the user’s default email client with the recipient’s address prefilled, and you can customize it by appending parameters such as subject, body, cc, and bcc using query strings. sAddress refers to one or more valid email addresses separated by a semicolon, and sHeaders (optional) refers to query parameters containing the subject, body, cc, and bcc.
To send an email from your frontend using the mailto protocol, create an HTML form that allows users to input the recipient(s), subject, body, cc, and bcc. You can use these inputs to generate a mailto URL with JavaScript. When the user submits the form, the browser opens the user’s mailbox using the mailto link you created.
To create the form, add the following code block to a new HTML file:
<!DOCTYPE html>rn<html lang="en">rn <head>rn <meta charset="UTF-8" />rn <meta name="viewport" content="width=device-width, initial-scale=1.0" />rn <title>Emails</title>rn <script defer src="./script.js"></script>rn </head>rn <body>rn <form method="post">rn <!-- Add recipient field -->rn <inputrn id="recipient"rn type="text"rn name="recipient"rn placeholder="Recipient"rn />rn <!-- Add subject field -->rn <input id="subject" type="text" name="subject" placeholder="Subject" />rn <!-- Add message field -->rn <textarea id="message" name="message" placeholder="Email Body"></textarea>rn <!-- Add optional cc & bcc fields -->rn <input id="cc" type="text" name="cc" placeholder="CC" />rn <input id="bcc" type="text" name="bcc" placeholder="BCC" />rnrn <input id="send" type="button" value="Open Mail" />rn </form>rnrn <!-- Basic styles -->rn <style>rn body {rn display: flex;rn justify-content: center;rn align-items: center;rn height: 100vh;rn margin: 0;rn }rn form {rn display: flex;rn flex-direction: column;rn gap: 1rem;rn }rn input,rn textarea {rn padding: 0.5rem;rn border: 1px solid #ccc;rn border-radius: 0.25rem;rn }rn input[type="button"] {rn background-color: #007bff;rn color: white;rn border: none;rn border-radius: 0.25rem;rn padding: 0.5rem 1rem;rn cursor: pointer;rn }rn </style>rn </body>rn</html>rn
The form includes a recipient, a cc, a bcc, a subject, a body field, and a submit button. The code also adds some basic styling to the form:

Create a script.js file and paste in the following code to add a click event listener to the submit button, which triggers the openMailBox function:
// script.jsrnconst submitButton = document.getElementById("send");rnrnsubmitButton?.addEventListener("click", openMailBox);rnrnfunction openMailBox(e) {rn e.preventDefault();rnrn // Get valuesrn const recipient = document.getElementById("recipient").value;rn const subject = document.getElementById("subject").value;rn const message = document.getElementById("message").value;rn const cc = document.getElementById("cc").valuern const bcc = document.getElementById("bcc").valuernrn // Create a mailto link and encode the valuesrn const mailtoLink = `mailto:${encodeURIComponent(rn recipientrn )}?subject=${encodeURIComponent(subject)}&body=${encodeURIComponent(rn messagern )}&cc=${encodeURIComponent(cc)}&bcc=${encodeURIComponent(bcc)}`;rnrn // Open user's mailbox with prefilled contentrn window.open(mailtoLink, "_blank");rn}rn
The openMailBox function extracts the form’s values and creates a mailto link by concatenating the encoded version of the values to avoid issues with special characters (spaces, &, =, ?) in the mailto URL. It also opens the mailto link in a new tab to trigger the user’s mailbox.
This method of sending emails is useful for small-scale applications and websites where an email backend is unnecessary (such as “Contact Us” links, feedback forms, and support tickets). However, it has some significant disadvantages, including the risk of exposing credentials, a lack of email delivery tracking, and challenges with scaling.
Sending emails from the backend
For more complex or sensitive email handling scenarios, sending emails from a backend offers enhanced security as credentials are stored on the server. It’s also more reliable as backend systems can manage bulk emails and email queues, ensuring messages are sent reliably even during high traffic.
You can use a mailing service like Mailgun to simplify this process. Mailgun handles the complexities of email protocols (SMTP, HTTP APIs), domain verification, and spam prevention.
Set up your development environment
To send emails using Node.js and Mailgun, you’ll first need to create a development environment by running the following command:
mkdir email-service && cd email-service && npm init -y
The command above creates an email-service folder and initializes npm with its defaults in the folder.
Install the required packages with the following command:
npm install mailgun.js form-data dotenv
The installed dependencies include:
Mailgun.js(Mailgun’s Node.js SDK), which you need to interact with Mailgun using Node.js. Install Mailgun’s Node.js SDK or nodemailer (npm install nodemailer) to send emails securely from your backend.Dotenv, a library that loads environmental variables toprocess.env. You’ll need it to manage your sensitive credentials securely.Form-Data, a library that creates readablemultipart/form-datastreams. Mailgun only accepts data inmultipart/form-data, so you need this library to initialize the SDK.
After installing the dependencies above, you need to get an API key from your Mailgun dashboard.
Retrieve your Mailgun API key
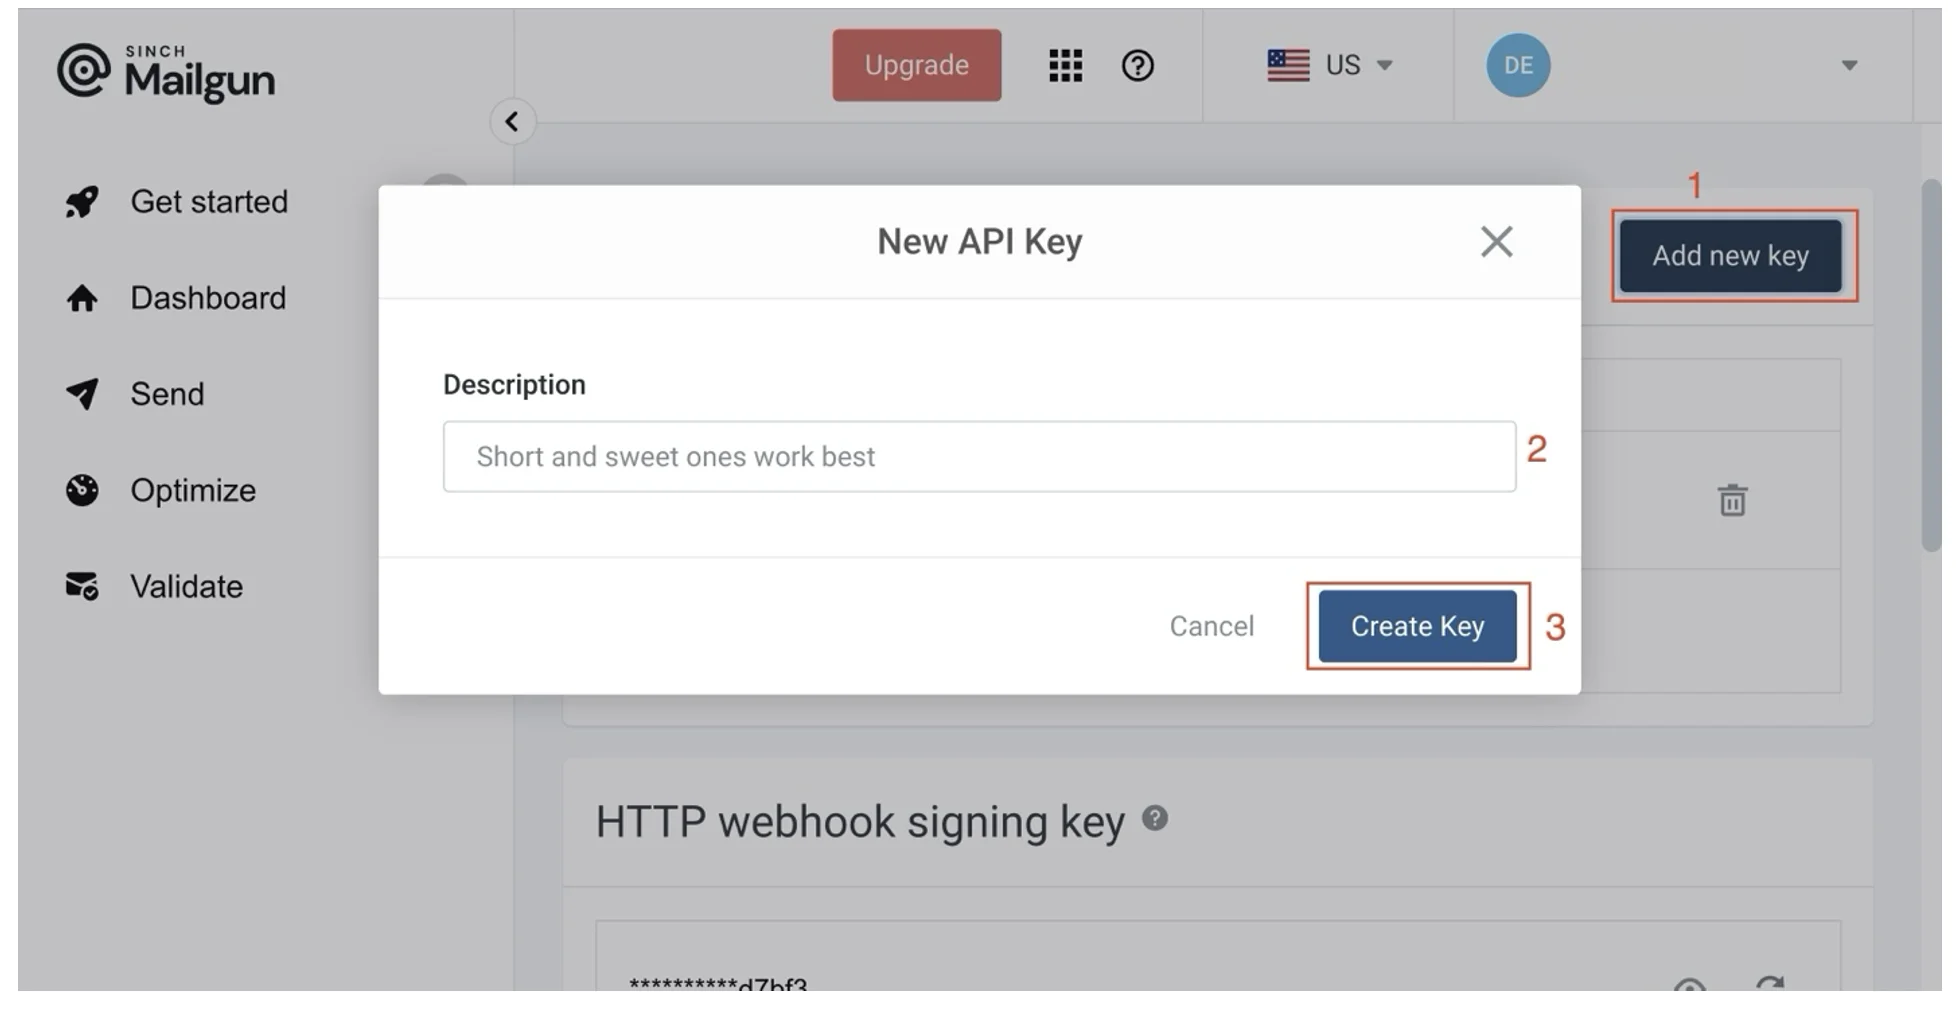
To get your API key, first log in to your Mailgun account. On your user dashboard, click the dropdown button at the top right of your screen and click the API Security button.
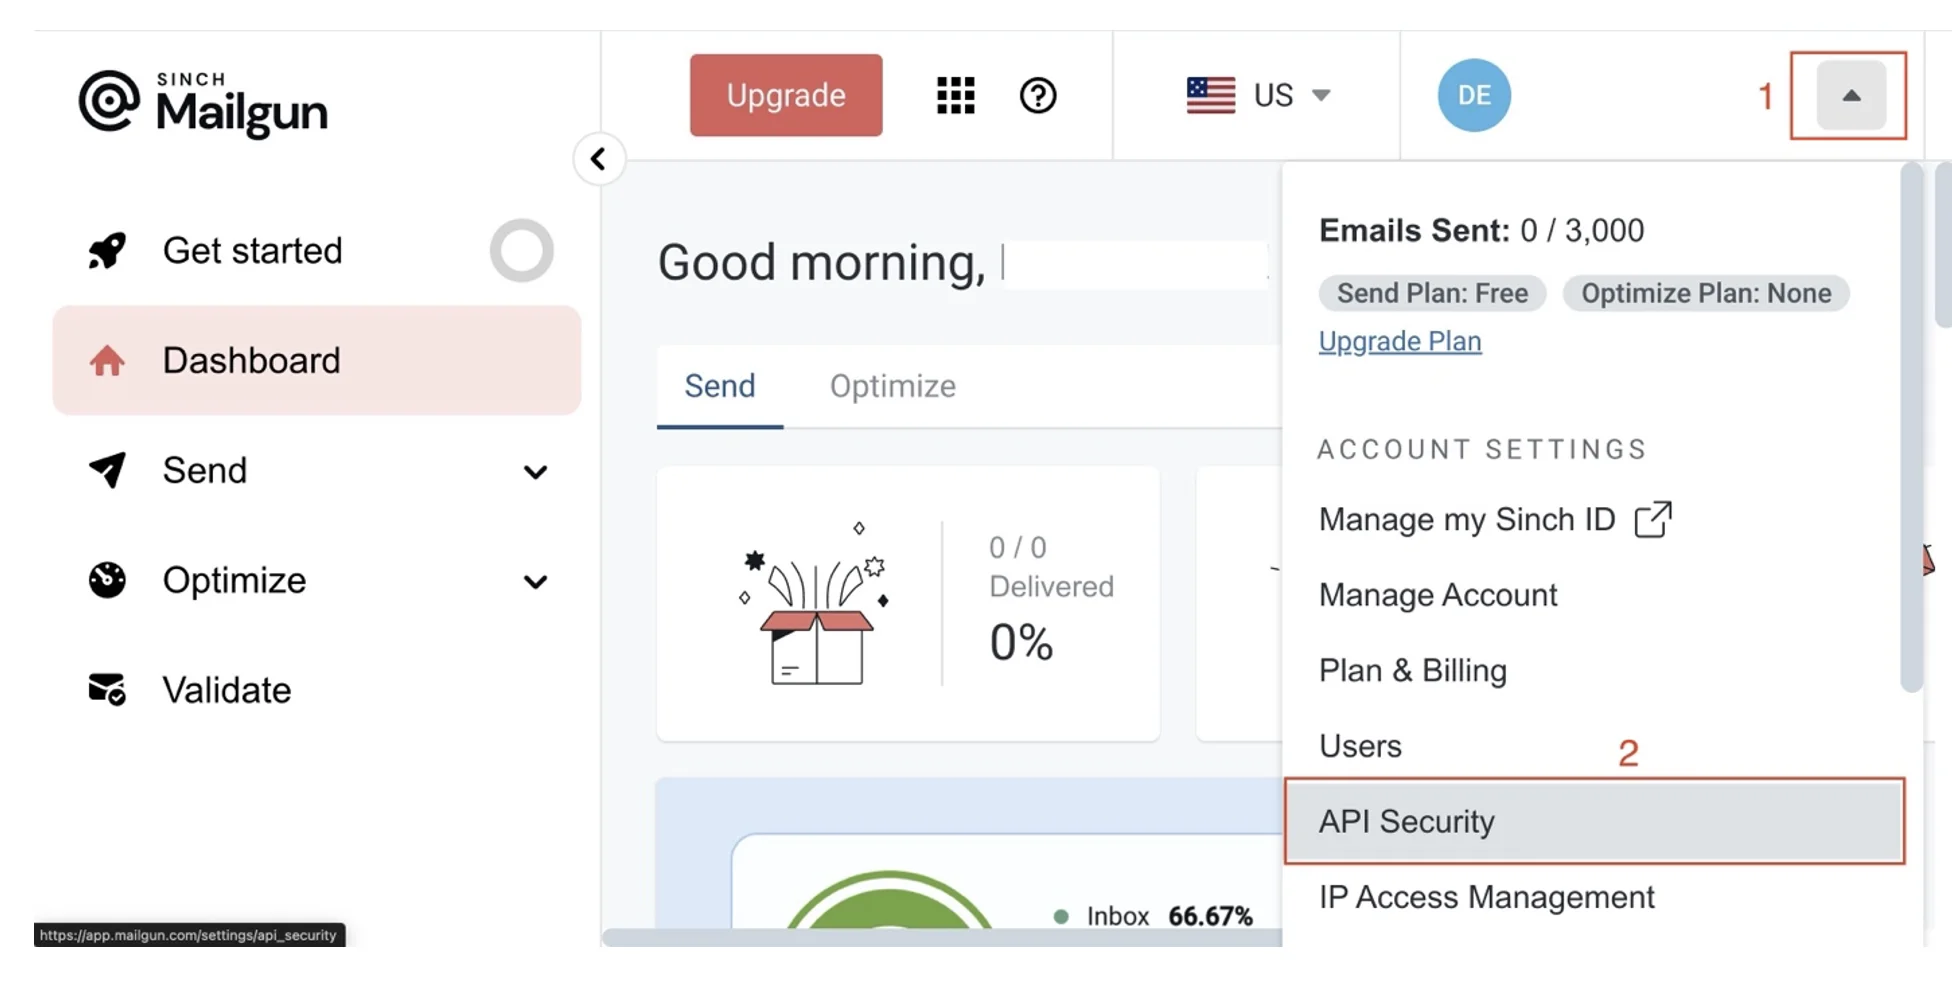
On the API Security page, click the Add new key button to reveal a modal with a form. Fill out the description on the pop-up modal and click the Create Key button, copy the API key displayed, and add it to your .env file.
Next, create an index.js file and a .env file in your project directory. In your .env file, add the variables below, and replace the placeholder value with its actual value:
MAILGUN_API_KEY =
Send emails using Mailgun’s Node.js SDK
Now that you have your API key, you can initialize your Mailgun SDK. In your index.js file, add the required imports and initialize dotenv by adding the following code:
// index.jsrnconst formData = require("form-data");rnconst Mailgun = require("mailgun.js");rnconst dotenv = require("dotenv");rnrndotenv.config();rnInitialize the Mailgun SDK with the formData package and connect to the Mailgun client using your credentials:rn// index.jsrnconst mailgun = new Mailgun(formData);rnrnconst mg = mailgun.client({rn username: "api",rn key: process.env.MAILGUN_API_KEY,rn});rn
You can send emails using the Mailgun SDK’s messages.create function. It takes an email domain and an object containing details about the email you want to send as arguments. The email domain must be added to your Mailgun account and verified. Follow this guide to add and verify a custom email domain. Alternatively, you can use the default sandbox domain provided by Mailgun.
The details in the object include (but are not limited to) the following:
fromshows the recipient who the email is from. This property should be your registered domain.tois the recipient’s (or recipients’) email address(es).subjectis the subject of the email.textis the content of the email.htmlis the content of the email in HTML. One function call cannot havetextandhtmlproperties at the same time; one would be discarded.
You can explore more of the available options in the official Node.js SDK docs.
For example, add the code block below to your index.js file to implement a function that sends an email:
// index.jsrnasync function sendEmail(domain, from, to, subject, text) {rn try {rn const response = await mg.messages.create(domain, {rn from,rn to,rn subject,rn text,rn });rnrn console.log(response);rn } catch (error) {rn console.log(error);rn }rn}
You can call the function like this:
// index.jsrnsendEmail(rn "<MAILGUN_DOMAIN>",rn "<SENDER_NAME> <SENDER_EMAIL>",rn "<RECIPIENT_EMAIL>",rn "<EMAIL_SUBJECT>",rn "<EMAIL_BODY>"rn);
Execute the function by running the following command:
node index
A response similar to the following should be logged to the console:
{
status: 200,
id: '<2025011324959830.5ae661a4e9fbf66f@sandboxca2ef9affjfiokfi7e431e95fc6ec3.mailgun.org>',
message: 'Queued. Thank you.'
}
The email should now be delivered to the recipient’s mailbox.
Best practices for sending emails from the backend
Without proper setup, emails sent from your backend may be flagged as spam, fail to reach recipients, or get blocked by providers. To improve deliverability, follow these best practices:
- Use a reputable ESP: When sending emails from the backend, it’s important to use a reputable email service provider (ESP) like Mailgun to handle the complexities of email delivery, including ensuring your emails are not marked as spam by enforcing email domain authentication (SPF, DKIM, DMARC).
- Store API keys securely: Another important consideration is securely storing your API keys using environment variables to ensure they’re not stolen and used for malicious purposes, thus affecting your sender reputation. Mailgun offers scoped API keys, allowing you to grant specific permissions (such as “sending only”) to minimize the risk of abuse.
- Monitor email analytics: You also need to track delivery rates, bounces, and failed emails in order to take corrective action. Mailgun’s dashboard provides insights into bounce rates, delivery rates, and engagement metrics that help you optimize email campaigns. Mailgun also offers an API to validate email addresses, ensuring you only send emails to valid recipients, thus reducing your bounce rates.
Following these best practices will help ensure reliable email delivery and minimize spam filtering.
Wrapping up
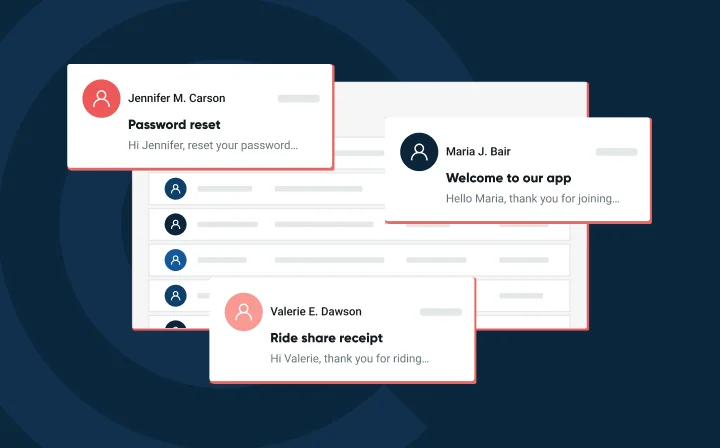
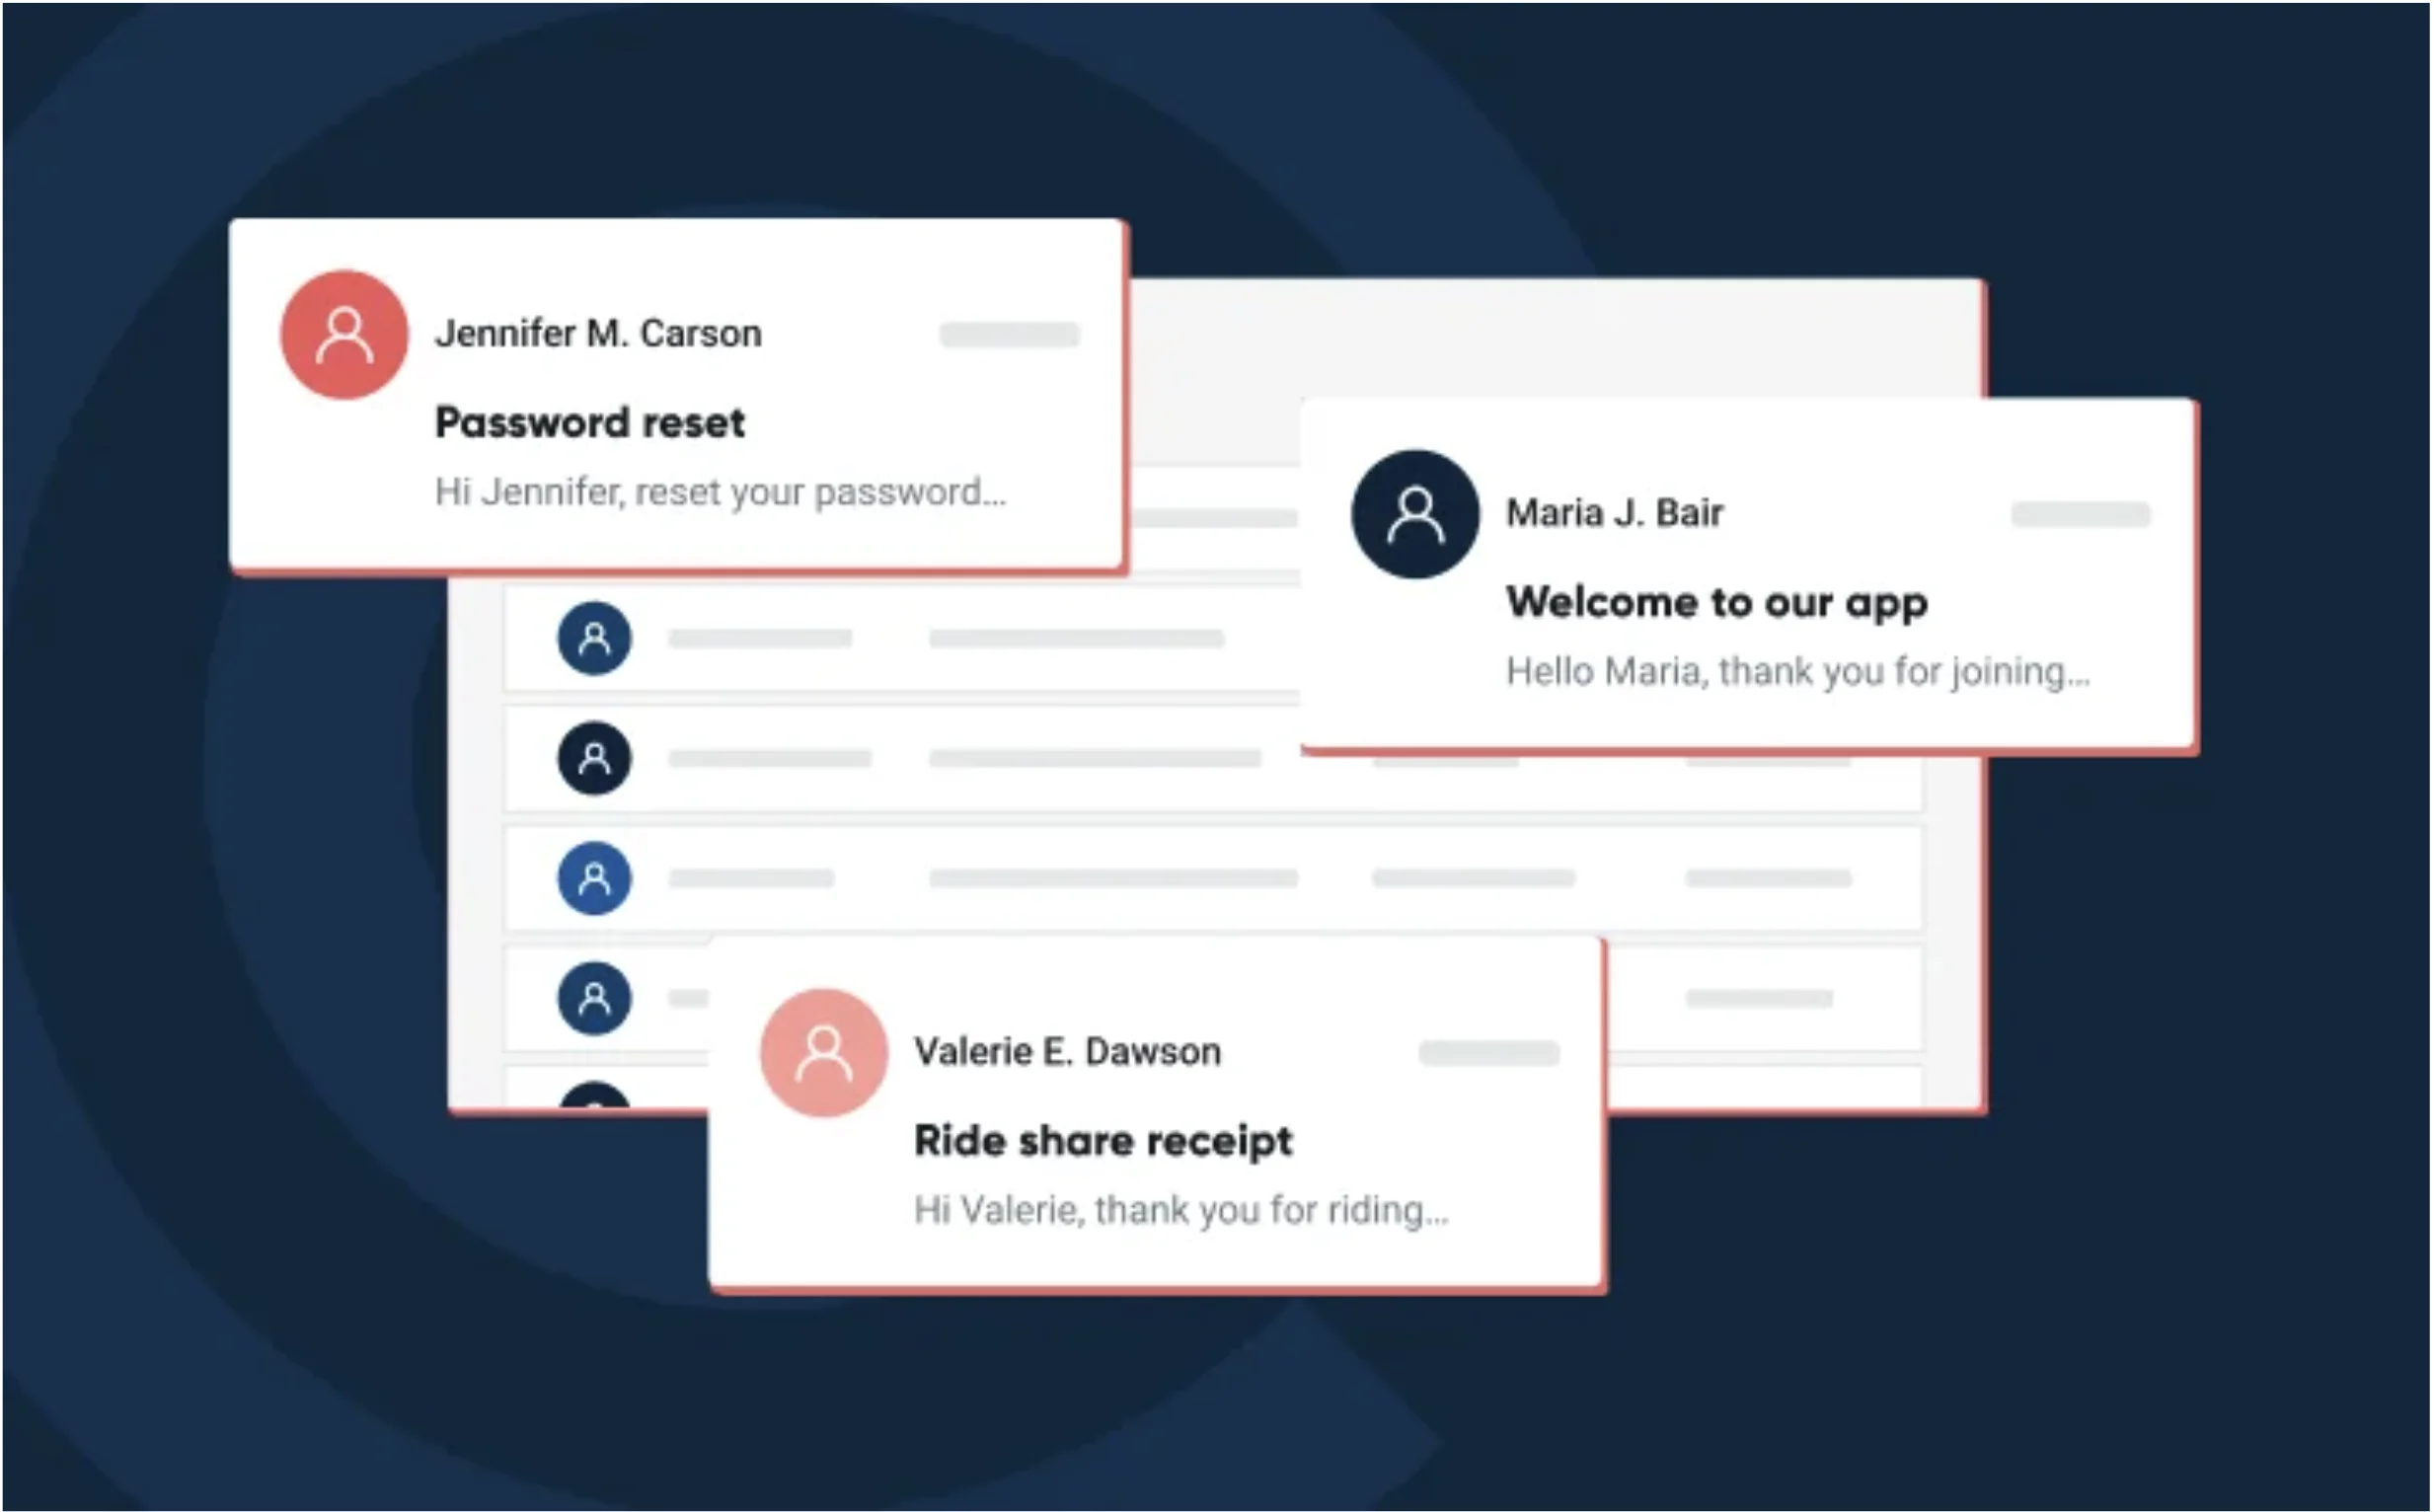
In this article, you explored how to send emails using a frontend-only approach and a backend approach. The frontend-only approach is simple to set up, but it’s not ideal for complex email functions due to its limitations. The backend approach offers a more feature-rich solution to email integration that’s made simpler by email service providers like Mailgun.
With Mailgun, you can send emails securely, optimize your email deliverability, and manage and validate your mailing lists.