Dev Life
Transactional Emails with API Workflows for Better Customer Experience
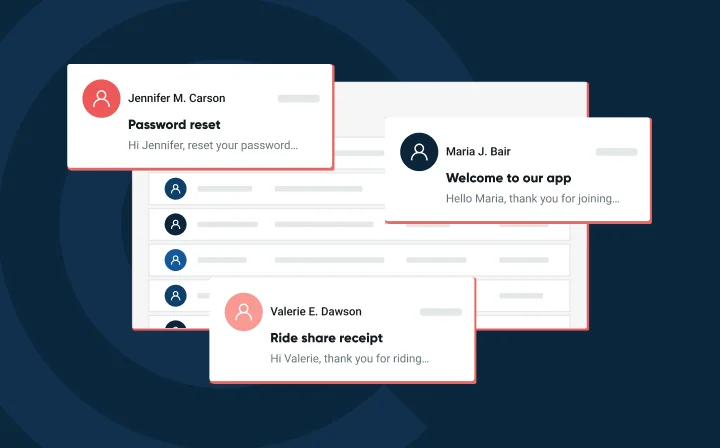
Have you received an instant notification email when you purchased something online? That’s essentially what a transactional message is. Transactional messages are automated emails or notifications you receive when you sign up for a service, make a purchase, or reset a password. They also include fraud alerts, abandoned cart reminders, and delivery and banking updates. Unlike marketing emails, they confirm actions and keep you informed, building trust and enhancing user engagement.
In this article, you’ll learn how to automate transactional messages from your application using API workflows to improve the customer experience.
How transactional messages impact customer experience
In contrast to bulk marketing emails, transactional messages are personalized, timely, and anticipated because they’re highly relevant to the user’s activity. These messages are one-to-one and contain information directly related to the user’s activities.
Timely transactional messages – like order confirmations and account alerts – boost customer satisfaction, enhance transparency, and strengthen trust by efficiently addressing customer interactions and potential fraud. They also assist customers by offering self-service options and reducing the burden on customer support.
Unlike promotional emails that often go unnoticed, transactional emails are eagerly awaited and often opened instantly; users will even go on a treasure hunt in their spam folders to track them down.
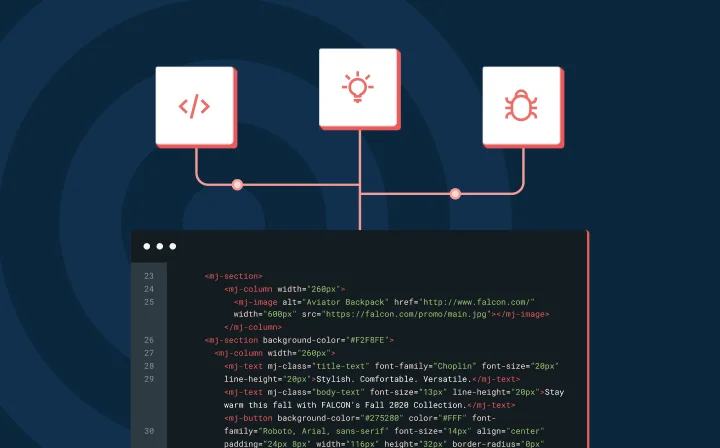
How to create an API workflow to automate transactional emails
In this tutorial, you’ll learn how to send transactional emails from your application by setting up simple workflows with Mailgun APIs. Mailgun is an email-sending platform that allows you to send and track emails. It simplifies transactional email automation with reliable and easy-to-use APIs. You’ll use Mailgun to automate transactional messages with Python in the following scenarios:
- User account signup
- Double opt-in for newsletter subscriptions
- Password reset
Before you begin, make sure you have the following:
- Python 3.9 or higher
- A Mailgun account (the free 30-day trial is sufficient for this tutorial)
Set up a new Python project
To get started, create a directory for your Python project and add an empty .env file inside it.
Before you proceed, it’s good practice to create and activate a new virtual environment to isolate your project and avoid dependency conflicts.
Once your virtual environment is active, install the necessary libraries (requests and python-dotenv) by running the following:
                                ```python
pip install requests python-dotenv
```
The requests library enables you to make API calls, and python-dotenv helps you securely store your API key outside your code.
Obtain an API key
To make API calls to Mailgun, you need an API key from your Mailgun account.
Sign in to your Mailgun account and navigate to the API Security page. You can find this under the drop-down menu below your name in the top right corner:
Create an API key and then copy it:
Store it securely by pasting the key into your project’s .env file:
                                ```python
MAILGUN_API_KEY="Your API Key Here"
```
When you’re using Mailgun, take note of your Sending domains on the dashboard:
If you’re on a free plan, you’ll see a sandbox domain, which you’ll use in the API endpoint and as the “from” email address when sending emails through the Mailgun APIs. The sandbox domain typically looks like this:
Import modules and initialize
To automate transactional emails, start by creating a main.py file in your project directory and adding the following code:
                                ```python
import requests

import logging

import os

from dotenv import load_dotenv

logging.basicConfig(level=logging.INFO)  # Set log level

load_dotenv()  # For reading the API key from the `.env` file

# Sandbox API URL format: https://api.mailgun.net/v3/sandbox<ID>.mailgun.org/messages

MAILGUN_API_URL = "https://api.mailgun.net/v3/YOUR_DOMAIN_NAME/messages"

FROM_EMAIL_ADDRESS = "Sender Name <SENDER_EMAIL_ID>"
```
The load_dotenv() function, from the python-dotenv library, loads environment variables from your .env file into your Python code. This is a best practice for securely storing and accessing sensitive information like credentials and API keys.
MAILGUN_API_URL sets the API URL for your Python script, while FROM_EMAIL_ADDRESS specifies the sender’s email address (both must use your email-sending domain or the sandbox domain mentioned previously).
Send an email using the Mailgun API
The following code shows you how to send an email to a single address using the Mailgun API. You should add this code to the main.py file you created earlier, below initialization:
```python
def _send_email(to_address: str, subject: str, message: str):

    """

    Send single email to the given email address using Mailgun API.

    :param to_address:

    :param subject:

    :param message:

    """

    try:

        api_key = os.getenv("MAILGUN_API_KEY")  # Get API key from the `.env` file

        resp = requests.post(MAILGUN_API_URL, auth=("api", api_key),

                            data={"from": FROM_EMAIL_ADDRESS,

                                "to": to_address, "subject": subject, "html": message})

        if resp.status_code == 200:  # Success

            logging.info(f"Successfully sent an email to '{to_address}' via Mailgun API.")

        else:   # Error

            logging.error(f"Could not send the email, reason: {resp.text}")

    except Exception as ex:

        logging.exception(f"Mailgun error: {ex}")
```
The _send_email() function takes three arguments: to_address, subject, and message. to_address is the recipient’s email, while subject and message define the email’s subject and content, respectively.
The function reads the Mailgun API key from the .env file, which is then used to authenticate the API call to the specified MAILGUN_API_URL. This key uniquely identifies your account, allowing Mailgun to verify your request.
To ensure the email is sent correctly, you must use your unique API key; the “from” email address must be associated with your valid domain or Mailgun’s sandbox domain. Otherwise, the API call will fail and return an error.
The email data is sent using the HTTP POST method through the requests.post() call. If the API call is successful, the email is queued for delivery, and the API returns an HTTP 200 OK status. If an error occurs, the API provides an error message along with an appropriate HTTP status code. Both scenarios are logged by this function for your reference.
All the transactional email automations in the following sections rely on the _send_email() function to send emails through the Mailgun API.
Automate user account registration transactional emails
User account registration is one of the most important use cases for transactional emails, as it serves as the user’s entry point into your system. First impressions matter, and this initial interaction is an opportunity to build trust and establish a positive relationship with the user. A well-timed, congratulatory email upon registration not only confirms the success of the process but also reassures the user that their account is ready to use.
To achieve this, your system should immediately send an automated confirmation email to let the user know their registration was successful.
Here’s an example of how to implement this:
                                ```python
def _notify_registration(user_name: str, user_email: str):

    """

    Notify user on successful registration using `_send_email`

    :param user_name:

    :param user_email:

    """

    # Use your own formatted HTML message here, with an appropriate link

    registration_msg = f'Dear {user_name},<br/><br/> You have successfully registered on our site.'

    _send_email(user_email, "Registration successful", registration_msg)

def register_user(user_name: str, user_email: str):

    """

    Register the user and notify the user on successful registration.

    :param user_name:

    :param user_email:

    """

    # Actual code to register the user

    logging.info(f"Sending registration email to the user: {user_name}...")

    _notify_registration(user_name, user_email)
```
The first function, _notify_registration(), is responsible for sending an email notification to a user who just registered. It takes two parameters: user_name and user_email. Inside this function, a simple HTML message is constructed using an f-string, which allows for easy insertion of the user’s name into the message. This function then calls the previously discussed function _send_email() to send the email.
The second stub function, register_user(), suggests the main entry point for the user registration process within your system. It also takes user_name and user_email as parameters. In real life, it would typically have more parameters or ‘user’ objects with more details. This function is responsible for handling the registration process. As shown here, it logs the email sending and calls the _notify_registration() function to initiate the automated confirmation email after completing user registration.
User registration acts as a triggering event for this transactional email, and you can automate it using the API workflow shown above. It’s also a great chance to inform users about your services and key features.
Automate double opt-in confirmation transactional emails
When a user subscribes to your newsletter, instead of immediately adding them to your subscriber list, you can send an email asking them to confirm their subscription. This process, called double opt-in confirmation, is legally required in some countries for regulatory compliance.
Here, the user’s subscription acts as the trigger, and you can automate double opt-in confirmation with the following code:
                                ```python
def _notify_subscription(user_name: str, user_email: str):

    """

    Double opt-in confirmation for user subscription.

    :param user_name:

    :param user_email:

    """

    # Use your own formatted HTML message here, with an appropriate link

    subscription_msg = f'Dear {user_name},<br/><br/> Please confirm your subscription to our newsletter by clicking ' \

                    f'this link: <a href="https://example.com/confirm-subscription?id=abcdef1234567xyz">' \

                    f'https://example.com/confirm-subscription?id=abcdef1234567xyz</a>'

    _send_email(user_email, "Confirm subscription", subscription_msg)

def subscribe_user(user_name: str, user_email: str):

    """

    Subscribe user and send opt-in confirmation message.

    :param user_name:

    :param user_email:

    """

    # Code to subscribe user with pending confirmation

    logging.info(f"Sending subscription confirmation email to the user: {user_name}...")

    _notify_subscription(user_name, user_email)
```
The first function, _notify_subscription(), is responsible for sending a double opt-in confirmation email to a user who has requested to subscribe to a newsletter. It takes two parameters: user_name and user_email. Inside this function, an HTML message is constructed using an f-string, which includes the user’s name and a dummy confirmation link. Again, this function then calls the _send_email() function to send the email.
The second stub function, subscribe_user(), is the main entry point for the user subscription process. It also takes user_name and user_email as parameters. This function typically handles the initial subscription process, likely storing the user’s information with a ‘pending’ status. At the end, it logs email sending and then calls the _notify_subscription() function to create and send the double opt-in confirmation email.
Automate transactional password reset emails
Ever found yourself needing to log in, only to realize that you’ve forgotten your password and have to click the “forgot password” link? Clicking that link triggers an email you’re eagerly anticipating.
Here’s example code that demonstrates how to automate this type of transactional email:
                                ```python
def _notify_password_reset(user_name: str, user_email: str):

    """

    Send password reset email to the user

    :param user_name:

    :param user_email:

    """

    # Use your own formatted HTML message here

    registration_msg = f'Dear {user_name},<br/><br/> Please use the following link to reset your password: ' \

                    f'<a href="https://example.com/password-reset?token=lmnopqr7654321abc">' \

                    f'https://example.com/password-reset?token=lmnopqr7654321abc</a>'

    _send_email(user_email, "Reset password", registration_msg)

def reset_user_password(user_name: str, user_email: str):

    """

    Initiate password-reset and notify user

    :param user_name:

    :param user_email:

    """

    # Password reset code for the user

    logging.info(f"Sending password reset email to the user: {user_name}...")

    _notify_password_reset(user_name, user_email)
```
The _notify_password_reset() function is responsible for creating and sending a password reset email to the user. It takes the user’s name and email address as inputs. Inside the function, an HTML message is created using an f-string, which includes the user’s name and a unique password reset URL. The function then uses the _send_email() function to deliver this message to the user’s inbox.
The reset_user_password() function works alongside it as the starting point when a user wants to reset their password. It also requires the user’s name and email as inputs. This function would normally do some behind-the-scenes work to set up the password reset (not shown in this code). It then logs the email dispatch and calls _notify_password_reset() to send the reset instructions.
Similar to the previous two use cases, this pair of functions demonstrates a modular approach to handling password resets. By keeping the notification and triggering processes separate, this design makes the system easier to maintain and allows for future improvements to the password reset workflow.
You can call these functions from the main function for demonstration, like this:
                                ```python
# Demo of automated transactional emails

if __name__ == "__main__":

    register_user("Kirstin",  "Kirstin <kirstin@example.com>")

    subscribe_user("Jakkie",  "Jakkie <jakkie@example.com>")

    reset_user_password("Manish",  "Manish <manish@example.com>")
```
These three examples show how to automate transactional emails within your system. Each follows a similar pattern:
- A specific function is created for a particular type of notification (registration, subscription, or password reset), which gets triggered by the corresponding event or workflow.
- The function prepares a relevant email message.
- A separate utility function (using the Mailgun API) is called to actually send the email.
This approach ensures that transactional emails are automatically sent at key moments, such as when a user registers, subscribes, or requests a password reset.
Wrapping up
In this article, we broke down the power of transactional emails in user communication. Unlike marketing emails, these messages are triggered by specific actions—like a purchase or password reset—and deliver crucial, time-sensitive info that keeps users engaged and informed.
We also covered how to automate these emails using API workflows, walking you through setting up functions for things like welcome emails, subscription confirmations, and password resets. This automation ensures your emails hit inboxes right when your users need them.
Ready to streamline your transactional emails? With Mailgun’s robust APIs and tracking tools, you can easily automate messages and enhance the user experience from start to finish, but don’t take our word for it, check it out for yourself.