Product
List subscription feature for WordPress now available
This was initially posted on November 23, 2015.
The Mailgun WordPress plugin has always been a simple way to add outbound email support to your WordPress server simply, easily and affordably without the hassle or risks of running your own SMTP service. We’ve recently enhanced the plugin by adding support for Mailgun List subscription to your WordPress posts, pages, and widgets.
Mailgun supports all of the most popular languages including PHP, Ruby, Python, C#, and Java. If you’d like to learn more about Mailgun Lists and programming them, check out Open-source mailing list applet using the Mailgun PHP SDK.
In this tutorial, we’ll walk you through installing the plugin to your WordPress site, creating a list at the Mailgun control panel and then adding subscription forms to your site via widgets and shortcodes. Let’s get started.
Installing the Mailgun plugin
There are several ways to install plugins with WordPress. You can search for them and install them directly or download it to your desktop and then upload it to your website.
- To begin, visit your Plugins listing from the WordPress Dashboard menu.
- Click Add New and search for mailgun.
- You can click Install Now or you can upload the file from your browser.
- Once you’ve installed the plugin, it’s time to Activate the Plugin.
- Once it’s installed, you’ll be returned to your WordPress Dashboard Plugins listing.
Now, let’s configure the plugin to access your account and its lists.
Configuring Your Mailgun Plugin Settings
- From the plugin list above, Click Settings.
- Enter your domain name and API key from the Mailgun Control Panel.
- Once you’ve saved those settings, click the Test Configuration button above. You should see a popup and receive a confirmation email shortly after.
Your Mailgun lists
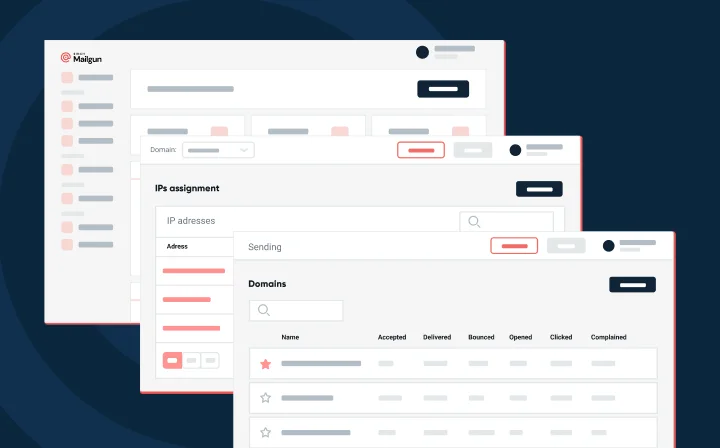
- Just as a reminder, let’s peek again at the Mailgun Control Panel Mailing Lists.
- If you don’t have one, click Create Mailing List and fill in the form to save it.
- Return to your Mailgun plugin settings page within the WordPress Dashboard. Click View available lists.
Next, let’s add the subscription widget to our sidebar.
Adding a subscription widget
- Visit the Appearance->Widgets page and drag the Mailgun List Widget to your Sidebar.
- Configure the settings with an optional widget title and description. If you wish, you can check the box to collect the full name as well as the subscriber’s email address. Enter at least one Mailgun list address e.g. subscribers@simplestart.io.
- When you view your WordPress site, observe the right sidebar with the widget.
- When users click Subscribe they’ll see a thank you notice.
If you provide a comma-separated list of Mailgun list addresses, you can give the user an option to subscribe to multiple lists. I’ll walk you through an example below.
Using the subscription shortcode
- Now, let’s add list subscription forms to our content, articles or pages. In this example, I’m going to edit my About Page and add the following shortcode:
If you’d like to subscribe to one of our newsletters, please provide your email address below and select the list(s) you want to be on:
[mailgun id=”subscribers@simplestart.io,tech@newscloud.com,outreach@newscloud.com”]
And that’s it. Pretty simple, huh?
In closing
I hope you’ve enjoyed our visual guide to the new plugin features. Please let us know which features you’d like to see added to the plugin next. You can post them in the comments below or send us an email.
Many thanks to folks who helped out with the plugin development: Jeff Reifman at Lookahead Consulting and Josh Larosee at M35Dev.