Deliverability
How to debug email issues in real-time using Mailgun logs
Any developer or systems administrator worth their salt will usually start their troubleshooting process with a simple question: “Have you checked the logs?” Debugging for any application or system service often starts with looking at the logs to figure out what went wrong. The same logic also applies to emails.
Emails don’t just vanish. The logs know where they went.
Mailgun provides detailed logging that captures every step of an email’s journey, from the moment it’s sent to its final delivery (or its failure). These logs provide a real-time record of events and offer insight into why an email bounced, was delayed, or never arrived at all.
In this article, you’ll learn how to access Mailgun logs, identify key parts of the logs, and fix common issues.
How to access your Mailgun logs to debug issues
Mailgun’s logging system offers an overview of your recent email-related events across your account, including your subaccounts. By default, it displays all events from the past 24 hours in a table format. Users can focus on up to three specific event metrics simultaneously and refine results using up to 10 filter dimensions, such as recipient domain, event type, or message ID. This granularity allows for precise monitoring and analysis of email activities. The logs can also be exported as CSV files for offline analysis or recordkeeping.
Accessing the logs and understanding the metrics
To access Mailgun’s logs, you’ll need a Mailgun account. After you log in, navigate to Send > Reporting > Logs:

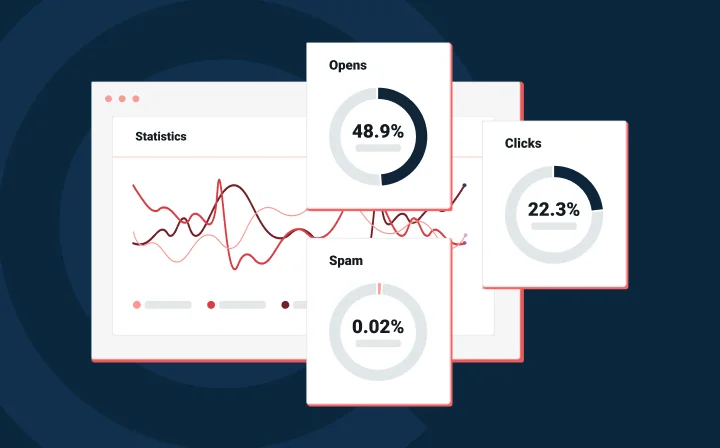
Understanding these metrics is key to understanding what happened to your emails:
- Accepted: Mailgun has received the email and placed it in the queue for delivery.
- Delivered: The email was successfully sent and acknowledged by the recipient’s email server.
- Temporary failed: Mailgun couldn’t deliver the email but will retry. This often results from soft bounces or recipient server issues.
- Permanent failed: Delivery failed, and Mailgun won’t retry. Common causes include hard bounces or addresses on suppression lists.
- Complained: The recipient marked the email as spam, and their email server notified Mailgun through a feedback loop.
This is only a subset of some of the metrics that you can filter and sort by.
How to use the filters
Mailgun’s filtering system allows users to cut through the noise and focus on the specific email events that matter. Instead of scrolling through a long list of logs, filters let you narrow results based on criteria such as recipient address, event type, domain, and message ID:
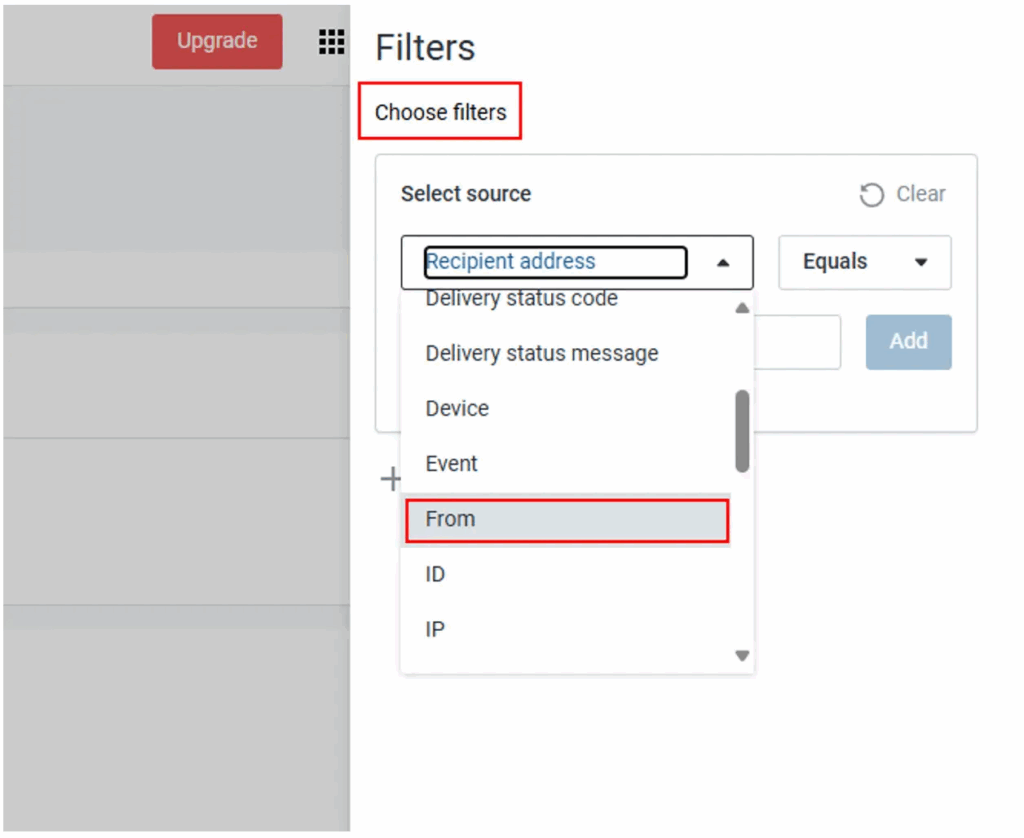
You can select up to three event types at once and combine them with up to 10 additional filters for more precise results. For instance, if you want to investigate why emails to a particular customer aren’t going through, you can filter by their email address and check for “Bounced” or “Failed” events. If you’re analyzing campaign engagement, filtering by “Opened” or “Clicked” events can provide insight into recipient interactions.
Using these filtering capabilities makes it easier to diagnose specific issues. Filtered logs can also be exported for further analysis to give you a clear view of trends and potential problems.
Real-life scenarios and how to debug them
In this section, you’ll go through some real-life examples and how you can find and troubleshoot the kind of issues you might experience during a real email campaign.
Tracking undelivered emails
There are many different causes for an undelivered email. One of the most common is a hard bounce, which occurs when an email is sent to an invalid or nonexistent address. This typically happens due to an outdated contact list or typos in a recipient’s address.
Another frequent issue is a soft bounce, where the email is temporarily rejected due to factors like a full inbox or a temporary server issue on the recipient’s side.
Spam filtering is another common reason for delivery failures. If an email is flagged as spam by the recipient’s mail server, it may be rejected outright or routed to the “junk” folder instead of the inbox. This can happen due to poor sender reputation, lack of authentication (SPF, DKIM, or DMARC failures), or email content that triggers spam filters. Additionally, recipient servers may reject emails if the sending domain or IP is blocklisted or if the email volume appears suspiciously high in a short period. Identifying the cause of undelivered emails is the first step in troubleshooting.
To track undelivered emails using the Mailgun logs interface, select Bounced (all) and Failed (all) to display only the undelivered emails:
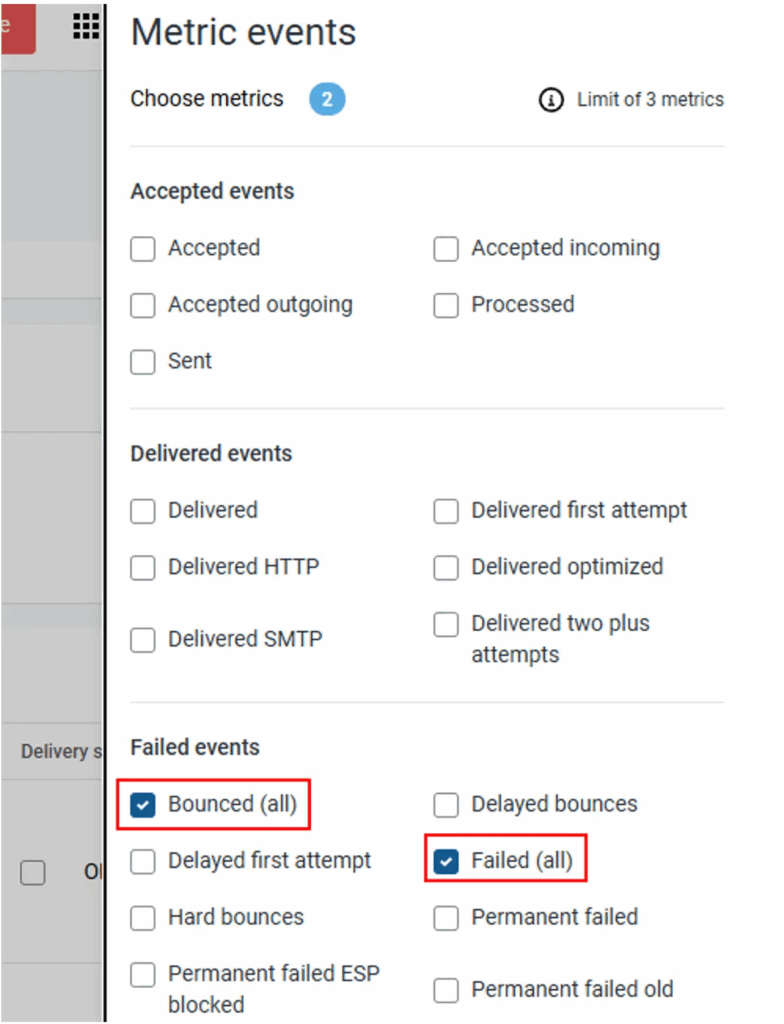
This list will include emails that might be marked as “Temporary failed,” in which case Mailgun will try to resend the email at a later time.
To pinpoint the root cause, you can apply filters based on event types (such as “Bounced” or “Failed”) or even specific recipient addresses. The log details provide additional context, such as SMTP error messages from the recipient’s server, which can indicate whether the issue is due to authentication failures, spam filtering, or invalid addresses. For example, a 550 5.1.1 error means the recipient’s address doesn’t exist, while a 451 error suggests a temporary issue, like a temporary delay on the recipient’s side.
From here, you can determine why emails aren’t reaching recipients and take corrective action, such as updating contact lists, adjusting email authentication settings, or improving email content to avoid overzealous spam triggers.
Resolving bounced emails
Bounced emails occur when a message is rejected by the recipient’s mail server, preventing it from being delivered.
Hard bounces happen when an email is sent to an invalid, closed, or nonexistent address. These are permanent failures, and the best resolution is to remove these addresses from your contact list to maintain a healthy sender reputation.
Soft bounces, on the other hand, are temporary and often caused by a full inbox, server issues, or graylisting. In many cases, Mailgun automatically retries sending soft-bounced emails.
Some bounces are due to reputation-based filtering, where the recipient’s mail server rejects the email because the sender’s IP or domain has been flagged for spam-like behavior. This can be resolved by improving email authentication (SPF, DKIM, and DMARC), reducing spam complaints, and ensuring your email content meets best practices. Additionally, high email volumes in a short time frame can trigger rate limits, causing temporary bounces. In such cases, Mailgun will automatically adjust the rate at which you are sending emails based on feedback from mailbox providers.
Just like before, you can use Mailgun’s logs interface to filter on “Bounced (all)” and “Failed (all)” metrics to only show emails with issues.
Look at the SMTP error code
The fastest way to identify why an email bounced is to look at the SMTP error code. Each bounced email entry includes an SMTP error code and a message from the recipient’s server that provides insight into the issue.
As mentioned before, a 550 5.1.1 error means the email address doesn’t exist, signaling a need to remove it from your list. A 452 error indicates the recipient’s mailbox is full, in which case retrying later might be successful.
Some error messages, like 554 5.7.1, suggest the email was blocked due to spam-related concerns. In such cases, improving sender reputation, ensuring proper authentication, and avoiding overly aggressive email marketing tactics can help reduce bounce rates.
A lot of these bounces might also lead to Mailgun’s automated suppression system kicking in. This system is designed to safeguard the sender reputation of the domain you’re sending from. For example, if a specific email address generates a bounced log entry, that email address is automatically added to a suppression list that ensures that Mailgun does not try to send to that address again.
When you’re busy with an email campaign, you should actively monitor your bounced email logs and take corrective action based on the error codes. This helps you maintain a cleaner email list, improve deliverability, and prevent future email rejection issues.
Complaint events
Complaint events occur when email recipients mark a message as spam or junk, signaling to their email service providers that the content is unwanted. These complaints are critical indicators of recipient unhappiness and can significantly impact your sender reputation.
A high rate of spam complaints suggests that your emails are not meeting recipient expectations, leading mailbox providers to filter future messages to spam folders or block them entirely. Maintaining a low complaint rate is important for ensuring high deliverability and keeping your reputation as a trustworthy sender.
From Mailgun’s logs interface, limit the events to Complained to only see the relevant messages:
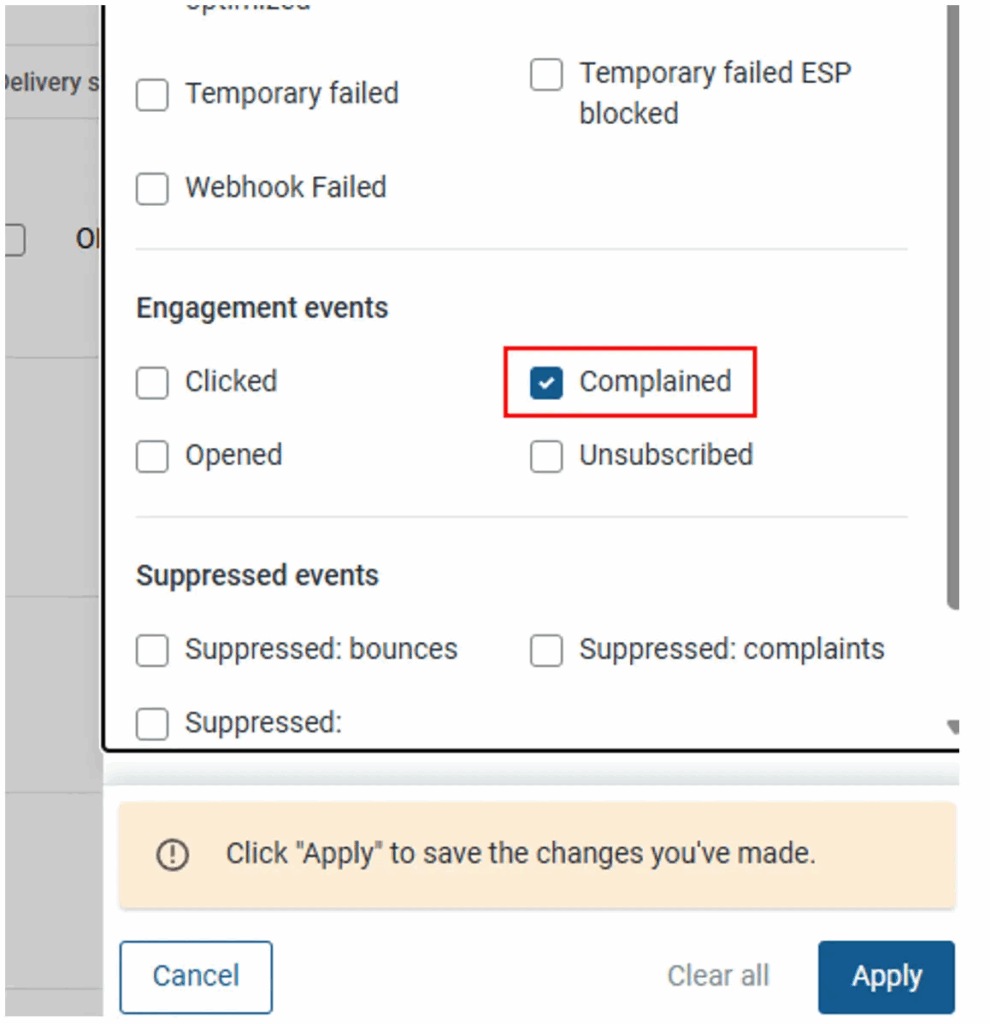
Analyzing these logs should help you identify specific patterns, such as higher complaint rates for specific campaigns or specific subject lines. For example, if a particular email campaign shows an elevated number of complaints, it may indicate misaligned content or targeting, which should prompt a review and adjustment of your email strategy.
You should proactively and regularly review these complaint logs, as this can help you refine your approach and better align with recipient expectations. Once you understand why recipients are logging complaints, you can implement measures to combat these complaints, like better unsubscribe options or more relevant content that your intended audience wants to see in their inbox.
In addition to the complaints logs, mailbox providers (except Gmail) offer feedback loops (FBLs) that notify senders when recipients mark emails as spam. Mailgun automatically registers its IP addresses for these FBLs and suppresses future emails to complaining recipients, helping protect your sender reputation. You can review these complaints yourself in the Mailgun Control Panel or using the Logs API and remove addresses from the flagged list if needed.
Wrapping up
In this article, you learned how to access, filter, and understand your Mailgun Logs dashboard. This information will help you improve your email campaigns, reduce delivery failures, and improve your sender reputation. For more articles like this one be sure to sign up for our newsletter!