Dev Life
Snack delivery machine: Part 2, the electronics and tech

Before we get technical, if you haven’t read our previous post about our wonderous snack machine, pop over and check that out first! We bought an off-the-shelf snack dispenser and turned it into a robot, but now it’s time to give it some brains. And by brains, we mean a raspberry pi.
If you’ve read up on some of our other mechanic projects, you may have noticed that we tend to use a Raspberry Pi for any hardware hack. They’re easy to set up, have a ton of extensions, and just about everyone loves playing with them. It was the perfect choice for what we wanted to accomplish — ultimate automated snackage.
Stepper Control
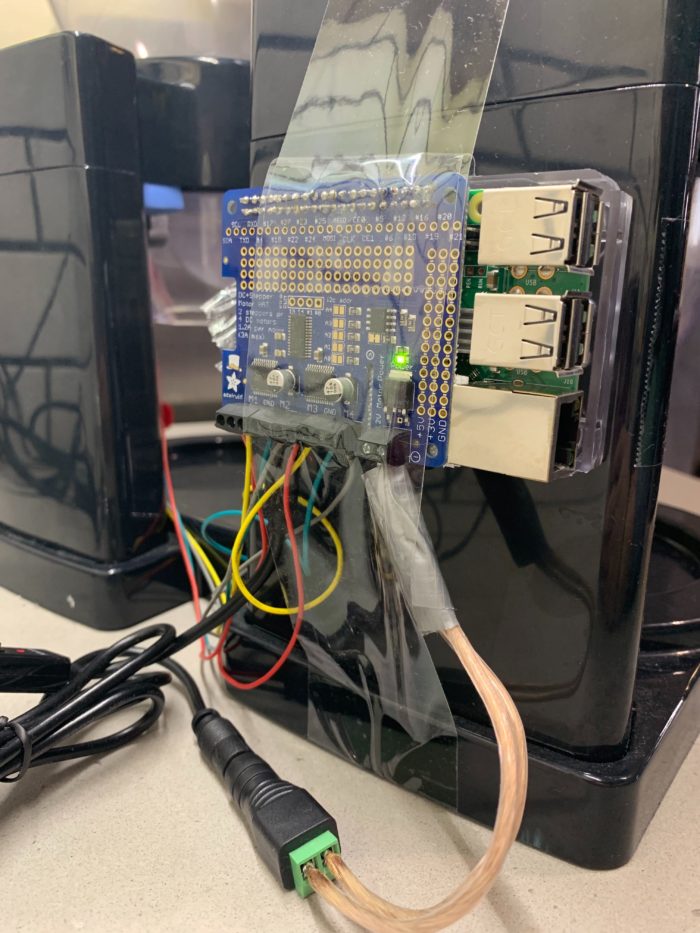
Speaking of extensions, one of the extensions out there is Adafruit DC & Stepper Motor HAT, which looks to be perfectly suited for us.
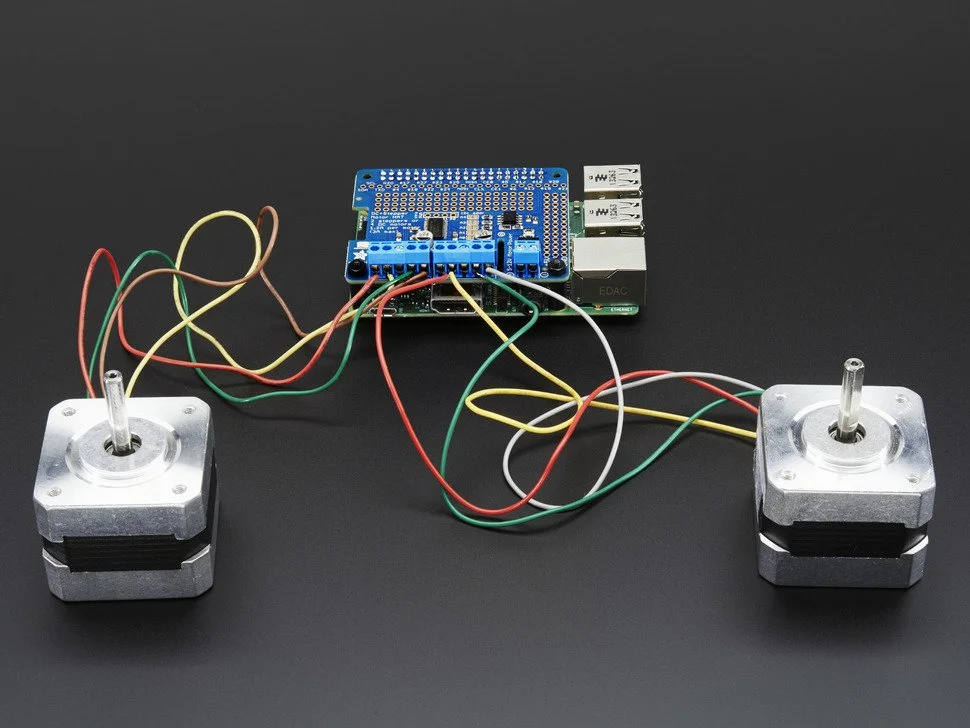
The board consists of a Pulse Width Modulation controller PCA9685 and 2 motor drivers based on TB6612FNG. The controller receives the commands over the I2C bus from the Pi and translates them to proper PWM signals. These low voltage signals enter the drivers and control the 12V outputs to power the motors.
Our motors are bi-polar steppers, which means they consist of 2 groups of coils that have to be energized with alternating polarity. Luckily, TB6612FNG is designed for working with dual motors, so each driver will be dedicated to its own stepper. The drivers have a separate power distribution circuit, which we’ll cover in the next section.
Power
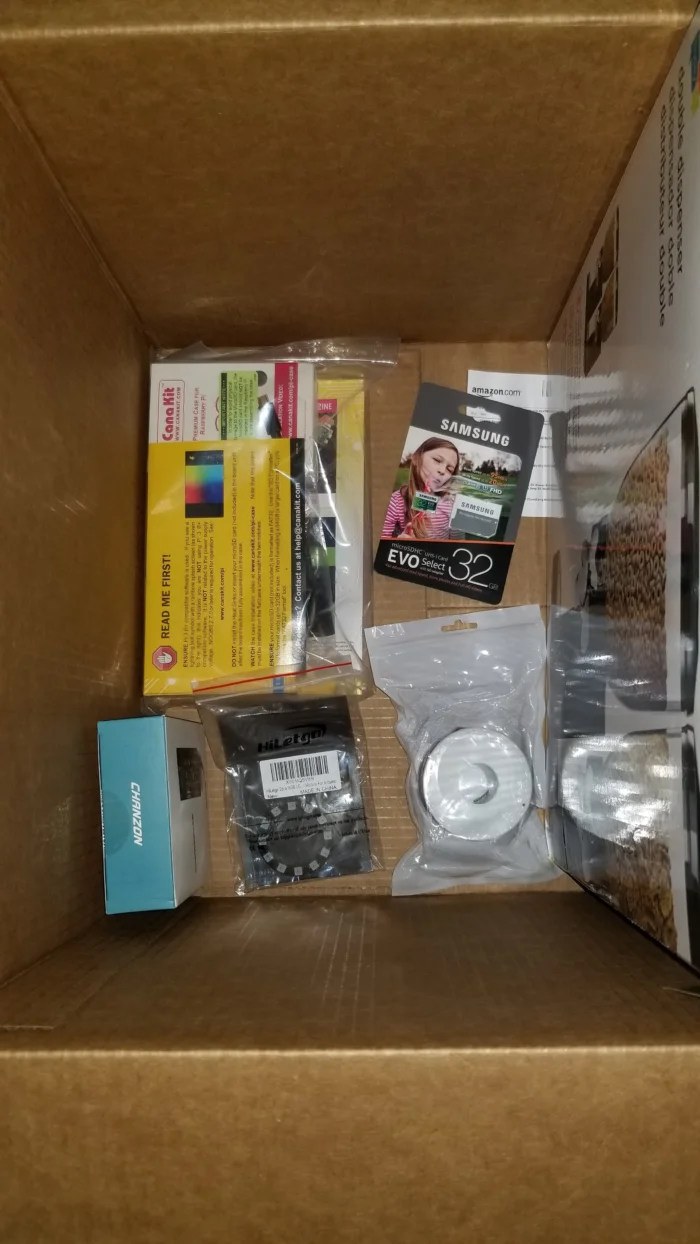
We got our Pi from CanaKit and it came with a basic micro USB 2.5A 5V power adapter. The motors on the hat need 12V and should be powered separately. Since they draw 350mA each, we need to provide at least 700mA to them. The drivers draw about 2mA each, which is not that significant. However, when designing any system (even a software one), we highly recommend the safety factor of 2-3 or even more.
To build safe robust systems, we have to take our ignorance about the real world into account. Take, for example, the Tacoma Narrows Bridge vs. the Brooklyn Bridge. The Tacoma Narrows Bridge didn’t have a safety factor and it inevitably collapsed. Conversely, the Brooklyn Bridge was constructed with a safety factor of a 5-6 and is still around to this day.
Fortunately, there are tons of options when it comes to power supplies to keep our snack machine nice and safe. We just went with a 5A power supply. If you’re still worried about how to hook up the power supply safely, this guide can help.
Putting it all together
Now that we had everything we needed to complete the snack machine, it was time to put it all together. Picture time!
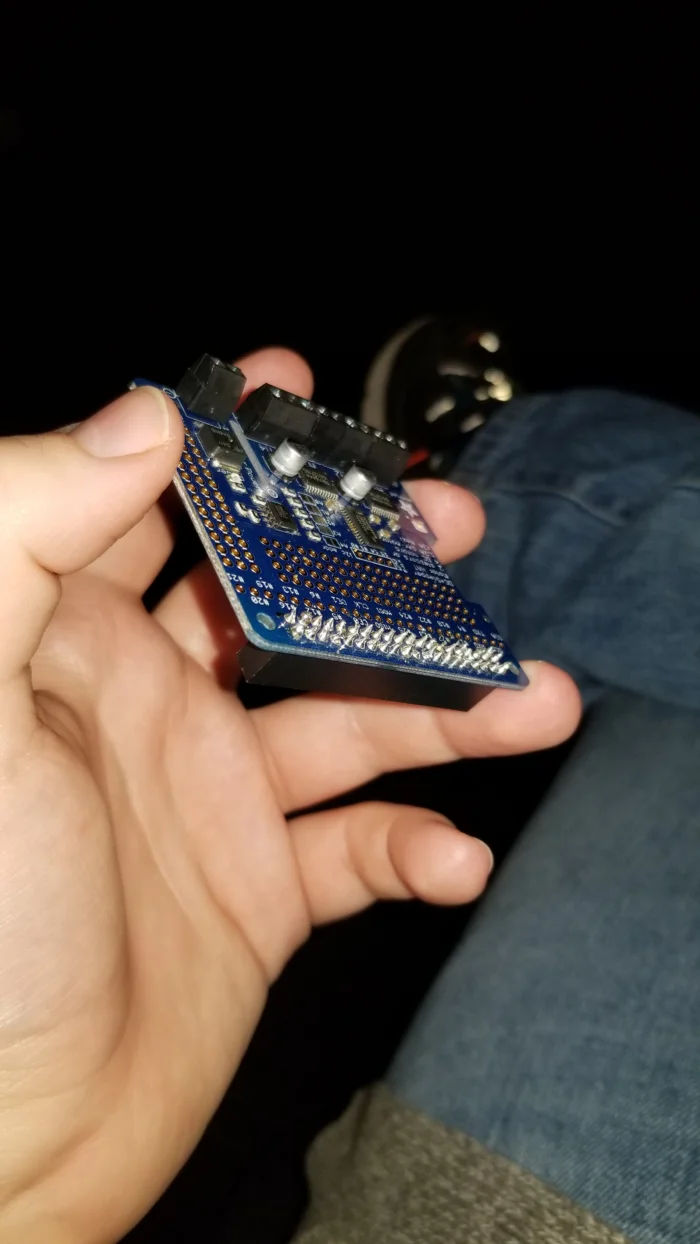
Before we really get going, we had to solder the HAT.
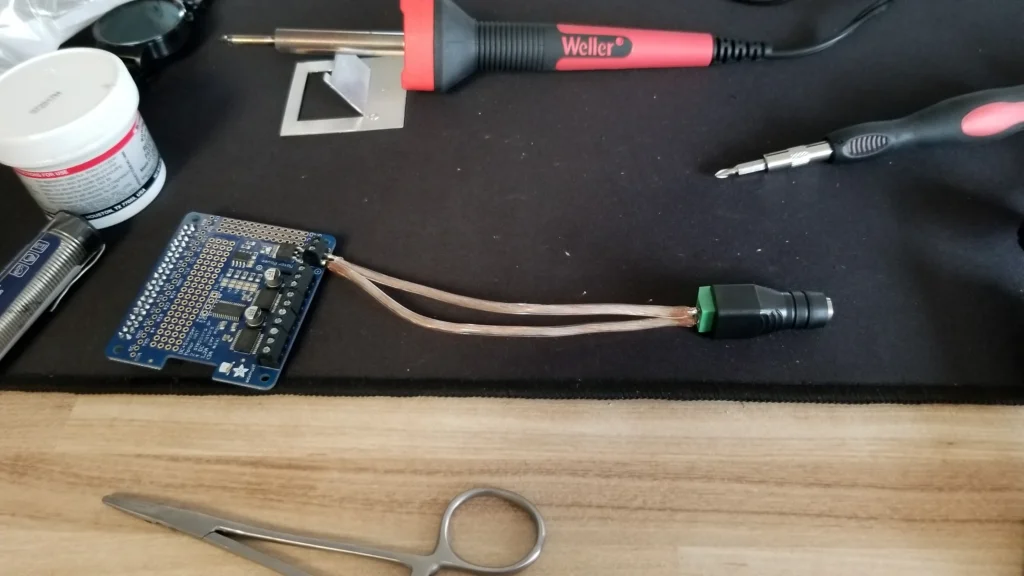
Then it was time to attach the power connector.
With the power in place, we could attach the motors to the HAT.
To control the HAT over I2C, we need to install Adafruit CircuitPython MotorKit. The installation is pretty straightforward, and we ended up using this guide to get the steppers working correctly. In our case, we came up with a decent back-and-forth algorithm and tuned it to dispense the right amount of snack in a single run.
Here it is! A working prototype!
As usual, we connected the machine to Mailgun. This could be done in a few different ways and since we already covered it in other posts we are not going to concentrate on it here. However, there is an interesting opportunity to turn it into a real IoT device.

So far we just use it in the kitchen so a fellow mailgunners can feast on M&Ms like a boss. Still, it’s brought plenty of people delicious candy, and quite a few laughs when it became unplugged and then delivered too many M&Ms once plugged back in.